
Using Zapier to connect to your CRM
Zapier is a great platform that helps us connect to many different CRMs. Check that yours is supported before starting this setup process.
Look up your CRM to check for compatibility!
Next, you’ll need to decide what you want to be the trigger for the data transfer.
Click on each option to learn more about what using it looks like in practice and for instructions on setup.
Add Label
Labels can be added to a contact to help identify their status. They are completely customizable to your needs, but some examples are “Hot Lead,” “Potential Partner,” or “Qualified Candidate.”
How to set up Zap:
1. Inside Zapier, click “+ Create Zap”
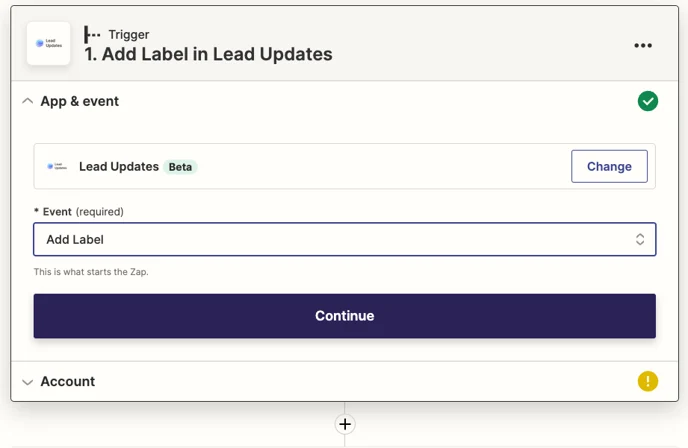
2. Choose Trigger: Search for and then select “Lead Updates”

3. Choose your Event (“Add Label”) and then click “Continue”
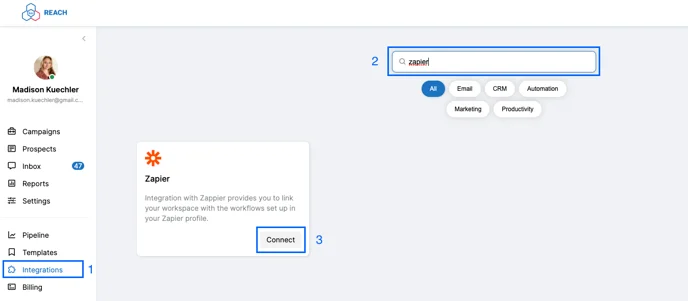
4. For the next steps, you will need to go into KennectedReach. Go to your “Integrations” tab, search for “Zapier,” and click “Connect.”

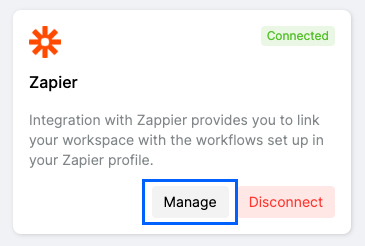
5. Once you’re connected, click “Manage”

6. Click “Copy Zapier Token.”

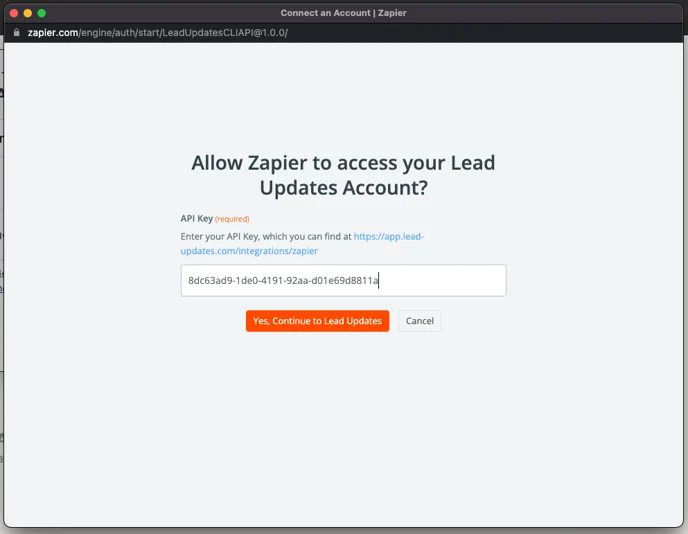
7. Back in Zapier, click “Sign In.” Then in the pop-up window, paste the code, and click “Yes, Continue to Lead Updates.”

8. Once it reflects your account, click “Continue.”
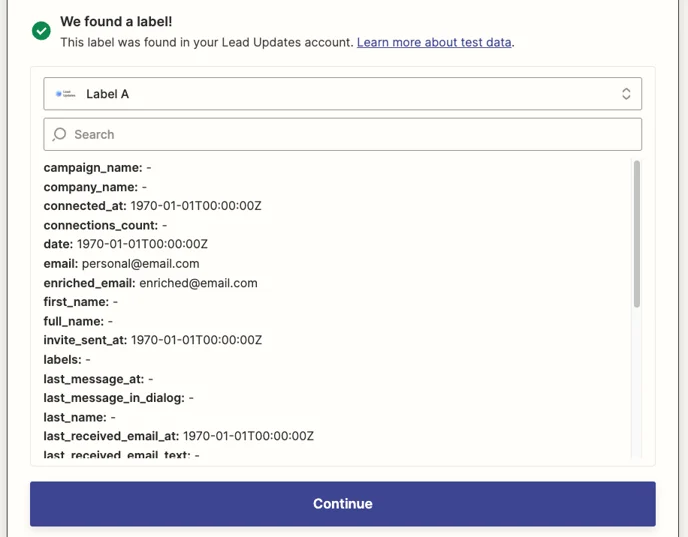
9. Click “Test” to confirm it is correctly connected. It should say, “We found a label!” As long as the test works, click “Continue.”
10. Now, we will connect to your app or CRM. Using the search bar, you can find yours.
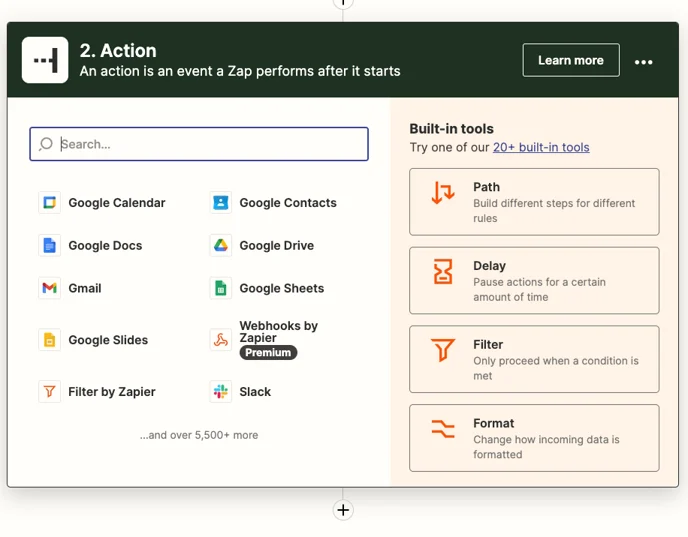
11. Once you have chosen your app or CRM, you will choose what action you want to take. These options will vary based on your chosen tool. Once this is selected, click “Continue.”

12. You will then be prompted to sign in to your account. Go through this process, and then click “Continue.”
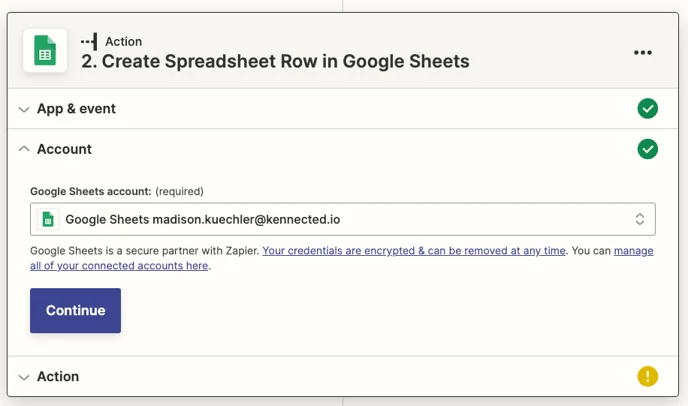
13. For the Action Steps, follow the prompts based on your app or CRM to designate where the information should go in the account. Then you will assign the value for each field you want to be pulled over. If there are additional options that aren’t relevant for you, leave them blank. Once you’re finished, click “Continue.”

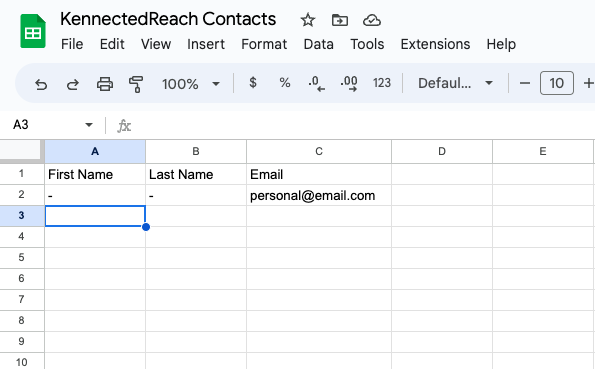
14. We always recommend testing the action to ensure it is working properly. This will send static information over to your app or CRM. Once it is sent, always look to see if it appears.
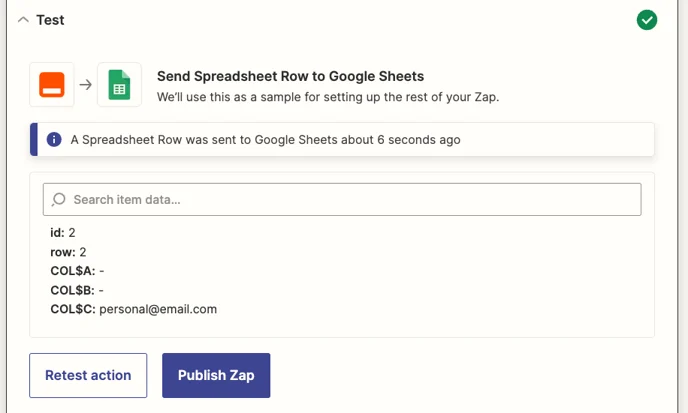

As long as your test works, you can “Publish Zap.”
15. Back inside KennectedReach, you will need to go to “Manage” on your Zapier integration. Then you will click on “Webhooks Settings.”


16. Select which labels you would like to trigger the action. When the label is selected, it will turn blue. Once you have your desired labels selected, make sure to scroll down and click “Save.”

Congratulations! Your Zap is now live, and as you add these labels to prospects, they will be pulled over into your app or CRM.
Got Reply
This option is great if you are looking to work further with prospects that have taken the time to respond to your messages. Once the initial reply is received, their information would be pulled over.
How to set up Zap:
1. Inside Zapier, click “+ Create Zap”
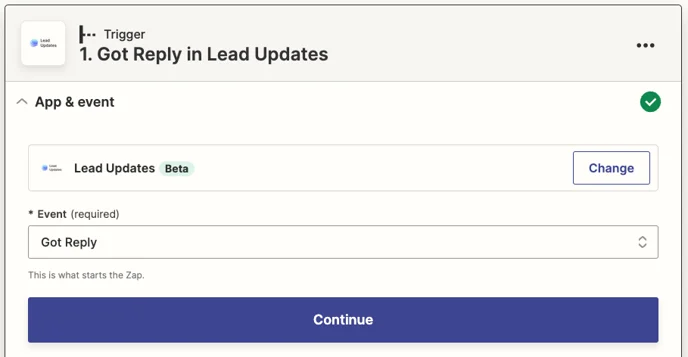
2. Choose Trigger: Search for and then select “Lead Updates”

3. Choose your Event “Got Reply” and then click “Continue.”
4. For the next steps, you will need to go into KennectedReach. Go to your “Integrations” tab, search for “Zapier,” and click “Connect.”

5. Once you’re connected, click “Manage”
5. Once you’re connected, click “Manage”

7. Back in Zapier, click “Sign In.” Then in the pop-up window, paste the code, and click “Yes, Continue to Lead Updates.”

8. Once it reflects your account, click “Continue.”
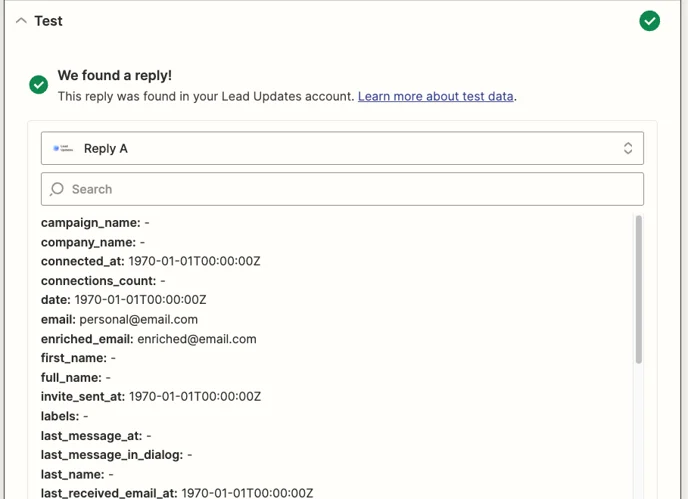
9. Click “Test” to confirm it is correctly connected. It should say, “We found a Reply!” As long as the test works, click “Continue.”
10. Now, we will connect to your app or CRM. Using the search bar, you can find yours.

11. Once you have chosen your app or CRM, you will choose what action you want to take. These options will vary based on your chosen tool. Once this is selected, click “Continue.”

12. You will then be prompted to sign in to your account. Go through this process, and then click “Continue.”

13. For the Action Steps, follow the prompts based on your app or CRM to designate where the information should go in the account. Then you will assign the value for each field you want to be pulled over. If there are additional options that aren’t relevant for you, leave them blank. Once you’re finished, click “Continue.”

14. We always recommend testing the action to ensure it is working properly. This will send static information over to your app or CRM. Once it is sent, always look to see if it appears.

Invite Sent
This option has some limitations, as it will only have access to public information on the profile. In other words, it may not pull the email or other details. This option still suits some teams, so if it makes sense for you, follow the instructions below.
How to set up Zap:
1. Inside Zapier, click “+ Create Zap”
2. Choose Trigger: Search for and then select “Lead Updates”

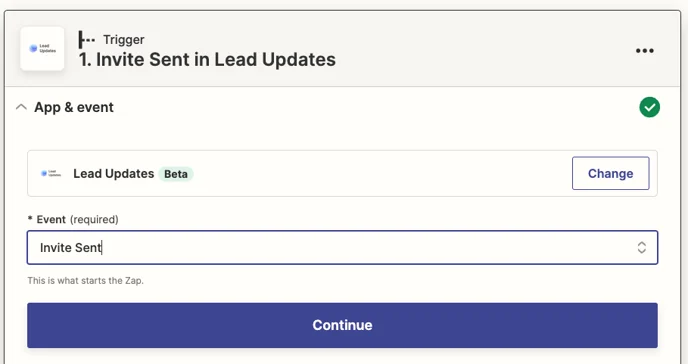
3. Choose your Event “Invite Sent” and then click “Continue”
4. For the next steps, you will need to go into KennectedReach. Go to your “Integrations” tab, search for “Zapier,” and click “Connect.” \
5. Once you’re connected, click “Manage”

6. Click “Copy Zapier Token.”

7. Back in Zapier, click “Sign In.” Then in the pop-up window, paste the code, and click “Yes, Continue to Lead Updates.”
8. Once it reflects your account, click “Continue.”
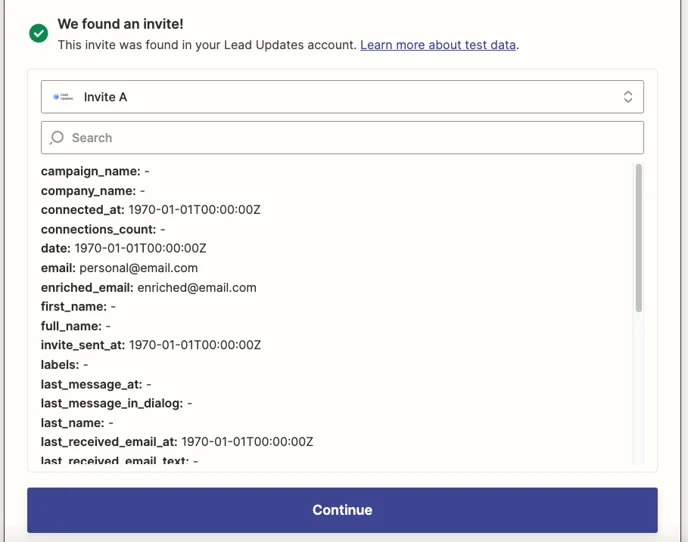
9. Click “Test” to confirm it is correctly connected. It should say, “We found an Invite!” As long as the test works, click “Continue.”
10. Now, we will connect to your app or CRM. Using the search bar, you can find yours.

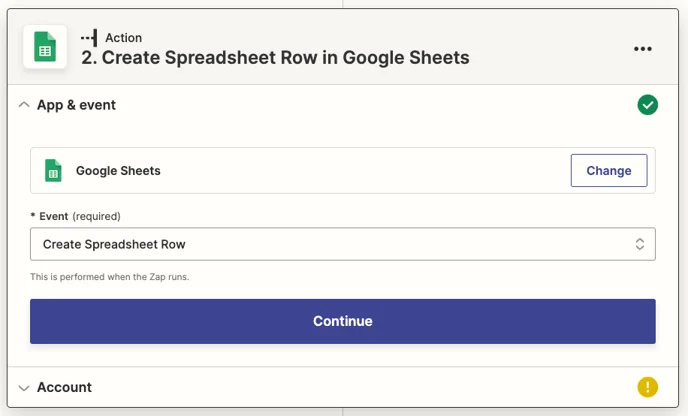
11. Once you have chosen your app or CRM, you will choose what action you want to take. These options will vary based on your chosen tool. Once this is selected, click “Continue.”
12. You will then be prompted to sign in to your account. Go through this process, and then click “Continue.”

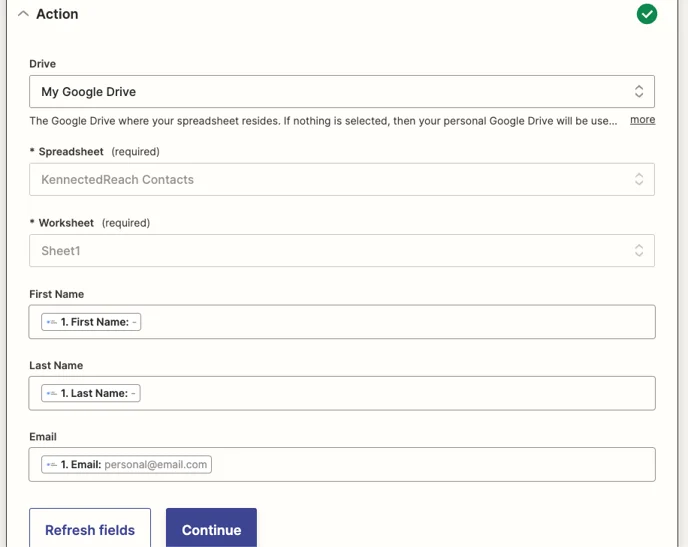
13. For the Action Steps, follow the prompts based on your app or CRM to designate where the information should go in the account. Then you will assign the value for each field you want to be pulled over. If there are additional options that aren’t relevant for you, leave them blank. Once you’re finished, click “Continue.”
14. We always recommend testing the action to ensure it is working properly. This will send static information over to your app or CRM. Once it is sent, always look to see if it appears.


As long as your test works, you can “Publish Zap.”
Congratulations! Your Zap is now live and will pull over the information for each prospect when the connection request is sent.